
How to Apply Tempered Glass & Screen Protectors Bubble-Free (and Remove Old Ones)
Contents6
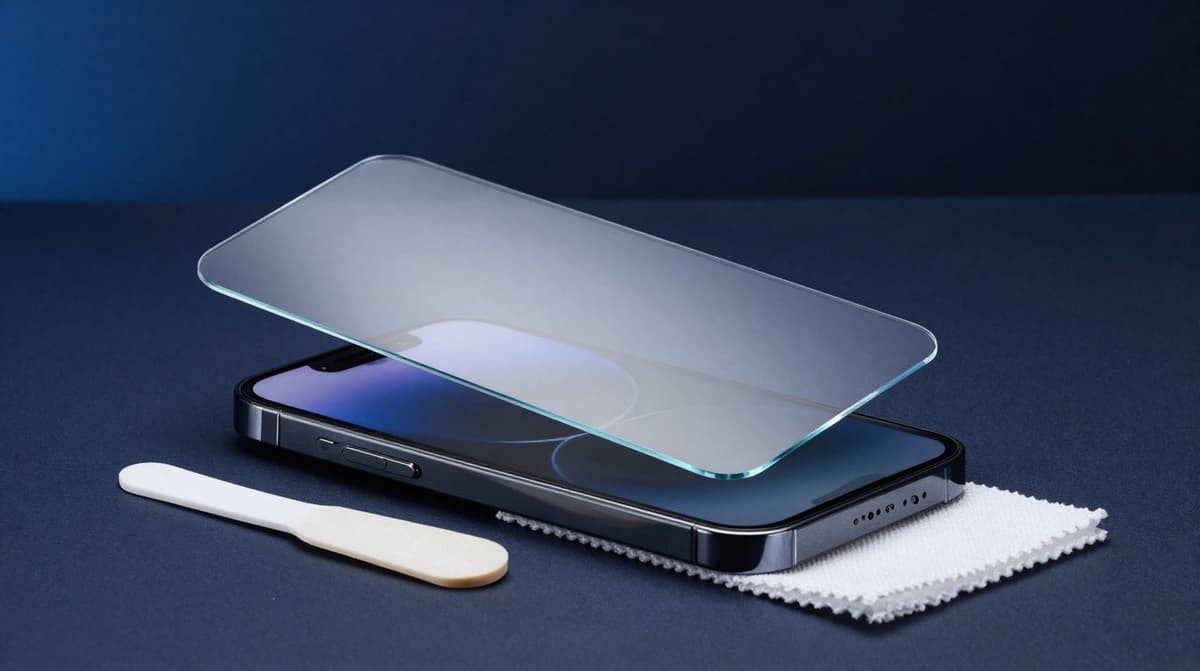
You've bought a new tempered glass or screen protector film, but every time you apply it, a bubble or a speck of dust ends up trapped underneath? You're not alone: most crooked protectors and trapped dust particles aren't caused by bad material but by a lack of preparation. The good news: with the right environment, clean tools and a few minutes of patience, the installation turns out bubble-free almost every time – even without practice. In this guide we show you step by step how to prepare your display, position the glass precisely, remove bubbles and safely peel off an old film or a shattered glass.
Preparation is everything: clean beats fast
The biggest enemy of a bubble-free installation isn't a lack of skill – it's dust. A single speck is enough to create a bubble that can no longer be smoothed out. The best place for the job is therefore the bathroom right after a hot shower: the steam binds the airborne dust, and for a few minutes the room is practically dust-free. Alternatively, use a freshly wiped, smooth table in a quiet room – windows closed, no draught, no pets nearby.
Before you start, wash your hands thoroughly with soap and dry them well. Otherwise, skin oils on your fingers will immediately leave new smudges. Get everything ready that you need:
- alcohol pad (cleaning wipe, usually included)
- clean microfibre cloth
- dust sticker or a piece of adhesive tape
- alignment aid or installation frame, if included
- bank or loyalty card for smoothing out
First clean the display with the alcohol pad, wipe it dry with the microfibre cloth and pick up the last dust particles with the adhesive tape: dab the display gently, don't rub. From now on, don't touch the display with your fingers anymore.
Step by step: how to apply the glass
- Test the position dry: Place the glass on the display with its protective film still attached and memorise the alignment with the camera, speaker and display edge.
- Use the alignment aid: Many tempered glass protectors in our range come with an installation frame that holds the phone in exactly the right position. Put the frame on – this practically rules out any slipping.
- Peel off the liner: Pull the film off the adhesive side without touching the adhesive surface.
- Lower it from the centre: Hold the glass by its edges, align it with the cutouts and lower it slowly onto the middle of the display. With a frame: simply drop it in.
- Let the adhesive work: Tap lightly on the centre of the glass. The adhesive now visibly spreads outwards on its own.
- Smooth from the centre outwards: Stroke from the centre to the edges with the microfibre cloth to push out the remaining air.
- Check against the light: Hold the display at an angle against the light and check for bubbles and trapped dust.
Removing bubbles: card instead of force
Small bubbles often disappear on their own within 24 to 48 hours as the adhesive continues to settle. You can smooth out larger bubbles with a card wrapped in the microfibre cloth – that way you won't scratch the glass or its coating. Push the bubble towards the nearest edge with calm, even pressure.
The key is to tell the two cases apart: an edge bubble without a visible core simply means the adhesive hasn't settled there yet – smoothing it out is enough. If you see a dark dot in the middle of the bubble, however, there's a speck of dust underneath, and smoothing won't help. Carefully lift the glass at the nearest corner with a strip of adhesive tape, dab the dust off the adhesive surface with a second strip and lower the glass again.
Removing an old film or a shattered glass
Before installing a new protector, the old one has to come off. Lift one corner with your fingernail or the corner of a card and pull the film off slowly and flat across the display – don't rip it upwards at a steep angle. Never use a knife or other sharp objects: the risk of damaging the display or its coating is high.
If the tempered glass is shattered, stick adhesive tape generously over the cracked areas before removing it. The splinters will stick to the tape instead of breaking off, and you won't cut your fingers. Then lift an intact corner as usual and peel the glass off. Remove adhesive residue with the microfibre cloth and a little cleaning alcohol.
When should you replace your screen protector?
A tempered glass protector is a consumable – it sacrifices itself so your display stays intact. Replace it as soon as you notice one of these signs:
- cracks or fractures – even fine hairline cracks clearly weaken the protection
- lifting edges that let dust and dirt creep underneath
- a dull, scratched surface that noticeably slows down your finger when swiping
A cracked glass has done its job. A replacement costs roughly CHF 10–30 – far cheaper than any display repair. Combined with a matching protective case, your device is protected all round.
Tempered glass or film: a quick comparison
| Tempered glass | Protective film | |
|---|---|---|
| Drop protection | very good | low, mainly scratch protection |
| Feel | like the original display | slightly softer, a bit rubbery |
| Installation | easy thanks to rigid shape and frame | trickier, bubbles more common |
| Thickness | approx. 0.3 mm | very thin, barely visible |
| Ideal for | everyday use and maximum protection | strongly curved displays, minimal look |
For most devices, tempered glass is the easier and safer choice – precisely because installation with a frame can hardly go wrong. The only thing that matters is that the glass fits your model exactly: if in doubt, measure or check your device's model designation before you order.